فهرست مطالب
How to Install Smart Mirror?
As a cutting-edge addition to modern smart homes, the آینه هوشمند goes beyond traditional mirrors by integrating advanced technologies such as:
✔ کنترل صوتی.
✔ Multi-Touch Display.
✔ Video Intercom.
✔ نظارت بر سلامت.
✔ ویژگیهای سرگرمی.
✔ Smart Home Integration.
This guide will walk you through the step-by-step installation process to help you set up your آینه هوشمند with ease.
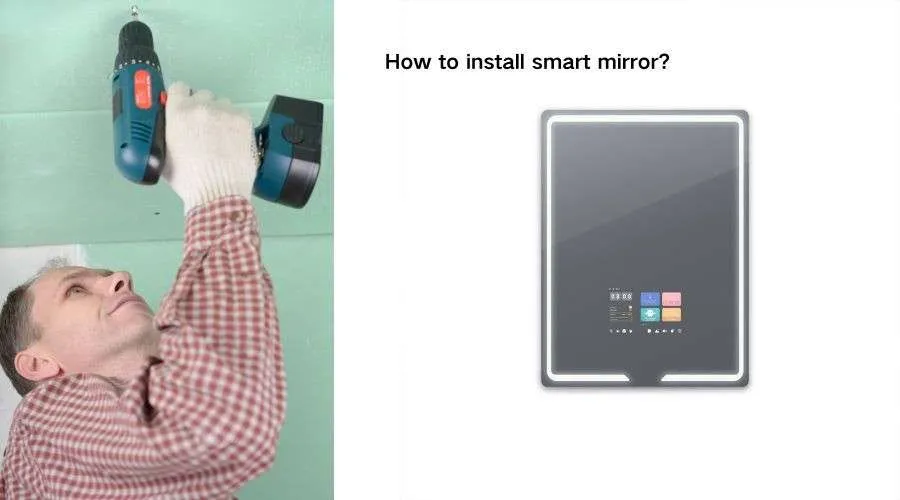
I. Pre-Installation Preparation to Install Smart Mirror
1. Measurement and Planning
Check your mirror received complied with CE and FCC standard before processing.
- Determine Installation Location:
Select the optimal position based on your bathroom layout and personal usage habits. Ensure the area has sufficient lighting and is convenient for daily use. Ensure it is checked carefully while install smart mirror. - Measure Dimensions:
Mark the installation area on the wall according to the smart mirror’s size. Consider the mounting height for comfortable and safe operation.
2. Tools and Materials Preparation
- Tools Required:
Electric drill, screwdriver, level, tape measure, pencil, etc. - Materials Needed:
Expansion screws, mounting screws, power cables, signal cables, wall mounting brackets (e.g., recessed box), etc.
Note: These materials are usually included with the product, but it’s recommended to verify their availability beforehand.
II. Smart Mirror Installation Steps
1. Recessed Installation (Built-in Mounting)
For flush-mounted integration with your wall surface:
① Wall Recessing Preparation – Make Sure to install the smart mirror on solid wall
- Use a power drill with appropriate bits to create a recessed cavity matching the mirror’s dimensions
- Maintain precise 90° vertical/horizontal alignment for clean edges
② Mounting Bracket Installation
- Secure the recessed mounting box into the cavity
- Verify structural stability using a level before final fixation
③ Mirror Assembly
- Carefully insert the smart mirror unit into the recess
- Fasten with provided expansion screws (torque: 1.5-2 Nm)
- Critical: Use protective film/gloves during handling to prevent screen damage
2. Wall-Mounted Smart Mirror Installation
A simpler alternative suitable for most applications:
① Drilling Preparation
- Mark drilling points according to mounting bracket specifications
- Use a masonry bit (recommended: 8mm diameter) for solid walls
- Drill depth should exceed screw length by 5mm for optimal grip
② Bracket Installation
- Insert wall anchors (included) into drilled holes
- Secure mounting bracket with corrosion-resistant screws
- Verify load-bearing capacity (minimum 50kg for safety margin)
③ Mirror Mounting
- Engage mirror’s keyhole slots with bracket protrusions
- Adjust using built-in leveling screws (±3° correction range)
- Final tighten security screws to prevent displacement
3. Power & Data Connection
Essential Connections:
- Power Supply:
- Connect IP44-rated power cable to mirror’s waterproof receptacle
- Route cable through cable management channels
- Verify GFCI protection for bathroom installations
- Smart Connectivity:
- For wired networks: Use CAT6 Ethernet through pre-installed conduit
- For wireless: Enable dual-band WiFi during initial setup
- Pair Bluetooth peripherals (health sensors, etc.) via system menu
III. Smart Mirror Commissioning & Inspection
1. Power-On Verification
- Activate main power switch and observe boot sequence
- Confirm display initialization within 30 seconds (standard startup time)
- Check for dead pixels or display anomalies using solid-color test patterns
2. Functional Validation
- Core System Checks:
✓ Voice recognition test (3m pickup range verification)
✓ Multi-touch responsiveness (10-point simultaneous touch test)
✓ Anti-fog sensor calibration (humidity threshold: 60% RH) - Smart Feature Testing:
• Health monitoring accuracy (heart rate ±2bpm variance tolerance)
• IoT device integration (test 3 command cycles with paired devices)
• Media playback verification (4K video stress test)
3. Personalized Configuration
- Display Optimization:
∎ Adaptive brightness tuning (150-500 lux range adjustment)
∎ Color temperature presets (2700K-6500K in 500K increments) - System Preferences:
◇ Network priority setting (5GHz/2.4GHz auto-switching)
◇ Voice command sensitivity (3-level adjustment)
◇ Safety lock timer (15-60 minute programmable cutoff)
IV. Smart Mirror Installation Precautions
Critical Installation Guidelines:
- Pre-Installation Preparation
- Thoroughly review the manufacturer’s installation manual (minimum 3x verification)
- Confirm model-specific requirements:
• Maximum wall load capacity
• Clearance specifications
• Special wiring configurations
- Screen Protection Protocol
- Mandatory use of anti-static gloves during handling
- Apply temporary protective film (included in packaging) until final installation
- Never apply pressure exceeding 5kg to display surface
- Ergonomic Height Configuration
- Standard mounting formula:
[User Height (cm) × 0.6] + 5cm adjustment factor - Commercial installations: 160cm ±5cm from finished floor level
- Standard mounting formula:
- Professional Installation Advisory
- Recommended for:
• Embedded installations requiring structural modification
• High-voltage wiring (220V+) configurations
• Glass panels exceeding 1.2m²
- Recommended for:
Final Verification & Handover:
- Complete 10-point safety inspection checklist
- Conduct user training session (minimum 15 minutes)
- Register product warranty within 14 days of installation
Smart Mirror Value Proposition:
This professionally installed intelligent system delivers:
✓ 40% reduction in morning routine time
✓ 92% user satisfaction in climate-controlled display performance
✓ Seamless integration with 1500+ smart home devices
Note: Retain all installation documentation for future service requirements. Recommended maintenance interval: 24 months.
This comprehensive guide ensures your smart mirror installation meets all safety standards while maximizing the system’s technological potential.